Hello friends, and welcome to my new followers. I'm really glad you're here!
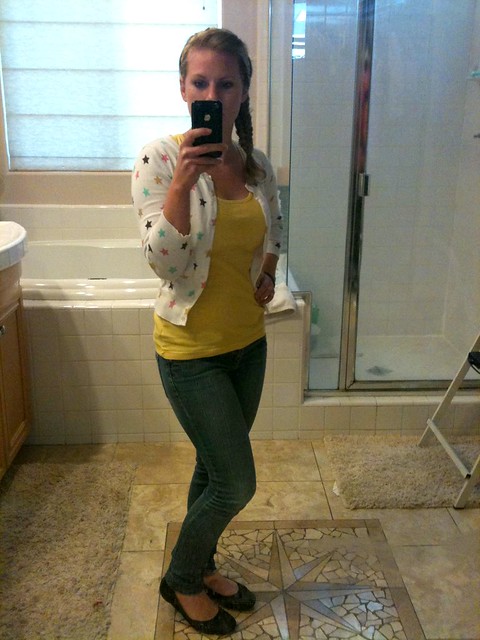
Today I wore a pretty simple outfit:
Yellow tank: Forever 21
Cardigan: Ross
Skinnies: Forever 21
Flats: Nordstrom Rack
Headband: Made by me (scroll down for tutorial)
I'm focusing more on my hair today. I'm going to show you how to make a fabulous braided leather headband using the mystery braid technique. We will also discuss my newfound love of the fishtail braid.
I snagged a bag of leather scraps from Michael's for like $8 and it ended up being perfect for little projects like this one. Use a coupon and it's a steal. Let's get started!
You will need:
Leather (about 18" long)
Sharp scissors
fabric (about 8")
Rotary cutting tools optional
First measure your head. Start about 1" behind your ear, or where you usually wear a headband comfortably, and bring the measuring tape around to the other side. Take that measurement and add 1". My pea head measured 16", so my band will be 17".
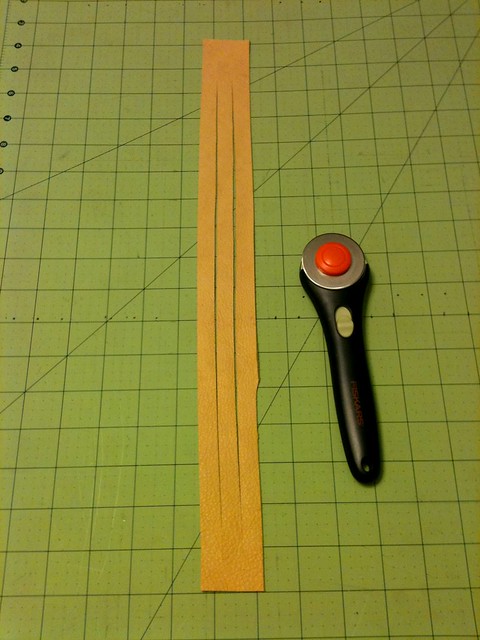
This requires only one piece of leather, which should be (insert your measurement here) by 1.5".
Beginning about 1" from the short edge, cut into the leather at 1/2" intervals. MAKE SURE TO STOP 1" FROM THE EDGE! The mystery braid technique requires both ends to remain intact.
Now, at this point, I'm going to direct you to Martha. I learned this technique from her website about a year ago, and she explains it better than I ever could. After all, she's Martha Stewart. She does everything better.
Some tips:
I usually use a binder clip to secure the leather to my cutting mat. You could use a clip board or some other apparatus to secure it while you braid.
Begin braiding as tightly as possible. You can even out the whole thing and loosen it up if there is extra room at the bottom.
Leave enough space for sets of two: When you tuck into the right side, make sure you have space to untuck on the left side.
If Martha's pictures are too confusing, try searching "mystery braid" on Youtube. Everyone does it differently, so it should help to see a few videos.
Now you have a braided strip that is intact on both ends.
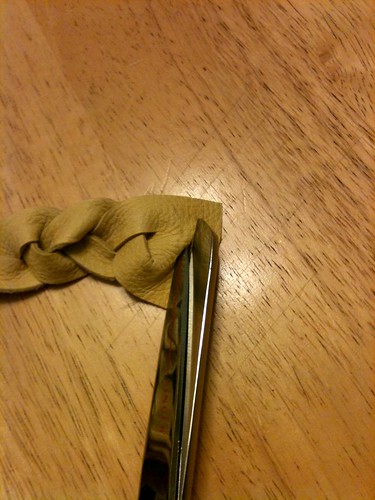
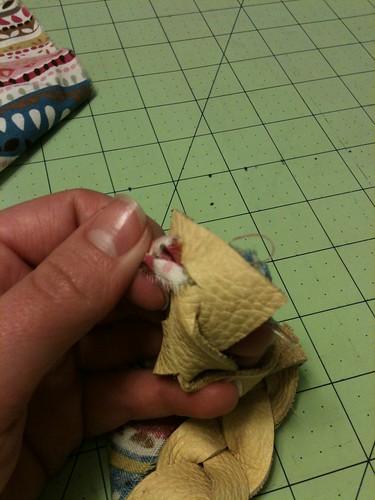
Take some sharp scissors and cut a tiny slit in the middle of each end. It should be about 1/4"
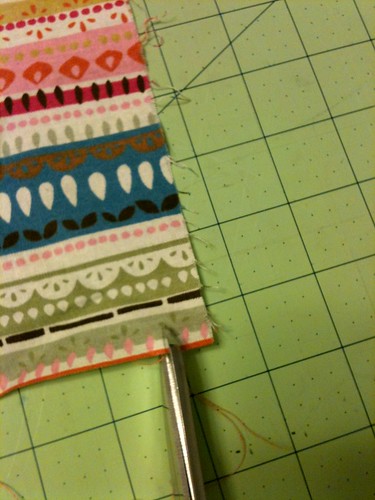
Now take your fabric scraps and snip about 1/2" from the edge.
Grab the corner and rip it! This creates a great frayed strip of fabric, which you will use to tie a bow at the back of the band. You'll need two of these. They can be any length but I recommend at least 7-8".
Tie a few knots to the end of each fabric strip.
Insert the un-knotted end of each strip through the holes you cut in the ends of the leater. I used a bobby pin to coax it through.
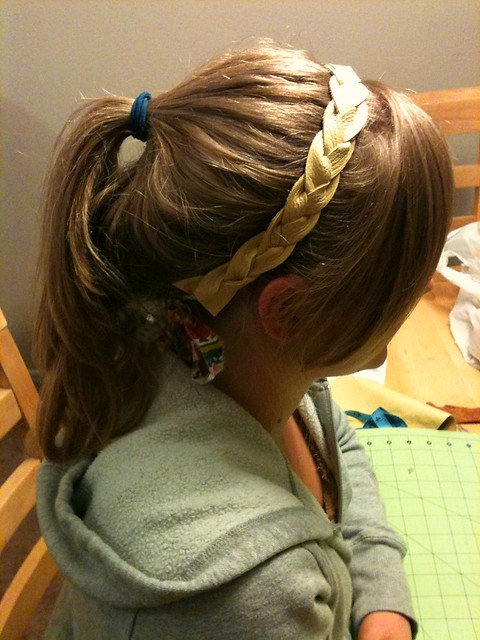
Now wrap it around your head, and tie the fabric strips in a bow at the back.
Tada!
You can ponytail it like I did here, or you can get a little fancier.
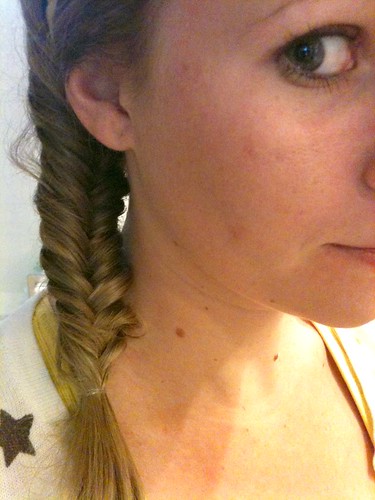
I saw this tutorial on Grosgrain yesterday, and have been fervently practicing.
I think I've finally got the fishtail braid down to a science.
It helps if my hair is slightly damp.
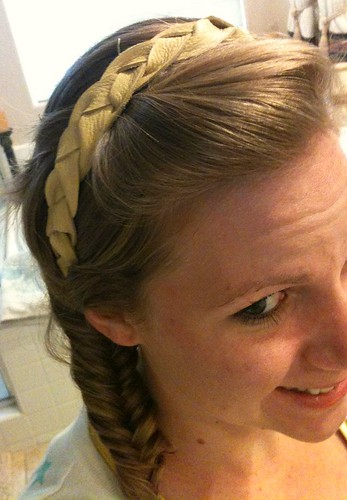
Now combine your new leather headband with a fabulous fishtail braid, and you've got a showstopping 'do!
Thanks for stopping by, I hope you have enjoyed this simple style project!




It's beautiful! AND, you are so darn cute!!
ReplyDeleteHave a great day,
Liberty
awesome tute!! you're looking cute too :)
ReplyDeleteThis is a great idea! You look great with the fishtail braid and the headband. Thanks so much for sharing! :)
ReplyDeleteJust found your blog!! You are too cute!! I can't wait to read more!
ReplyDeletewww.ashleymariefrederickson.blogspot.com
I am your newest follower!!!!!
ReplyDeletelove the braid headband - i have to check out this mystery braid...love that you used leather!
ReplyDelete